Neon Bulbs replaced with LEDs
Please see Larry R. Lockard's, N7FM, excellent Step by Step Procedure to open the Astron Power Supply Meters, remove the Neon Bulbs, and install the LEDs.
Since my Astron VM-70 Power Supply has a variable Output Voltage, I use a simple Voltage Regulator, fed by the Power Transformer's Secondary, to provide a fixed 12 Vdc to the installed Meter LEDs. See the Details below.
Schematic Diagram:
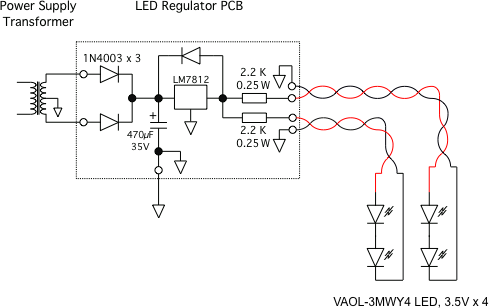
The Value of the Resistors can be changed for the desired brightness.
150% scale of Printed Circuit Board, PCB:
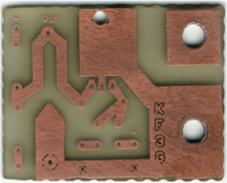
Sketch of Parts Placement:
1N4003 Diodes and 470μF Capacitor are bottom Side of PCB.
Photo of Diodes and Capacitor Placement, prior to PCB Installation:
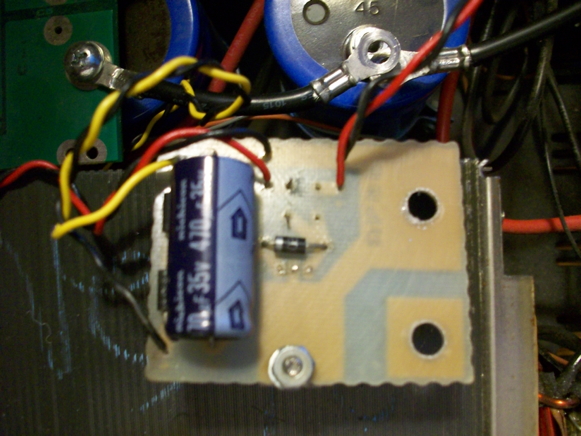
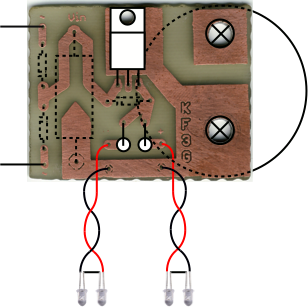
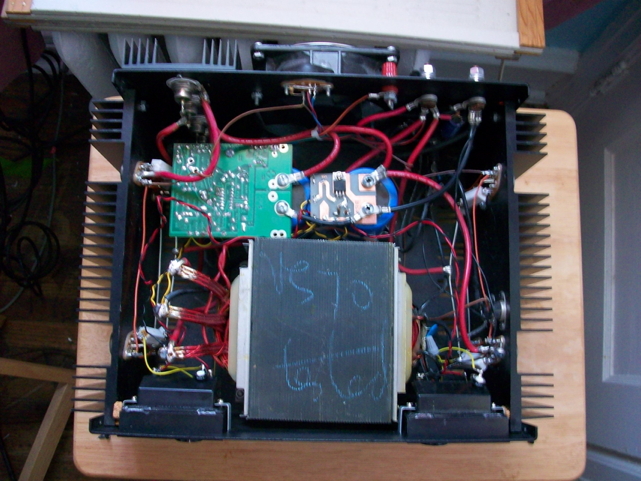
Photo of completed PCB Installation:

Second View of completed PCB Installation:
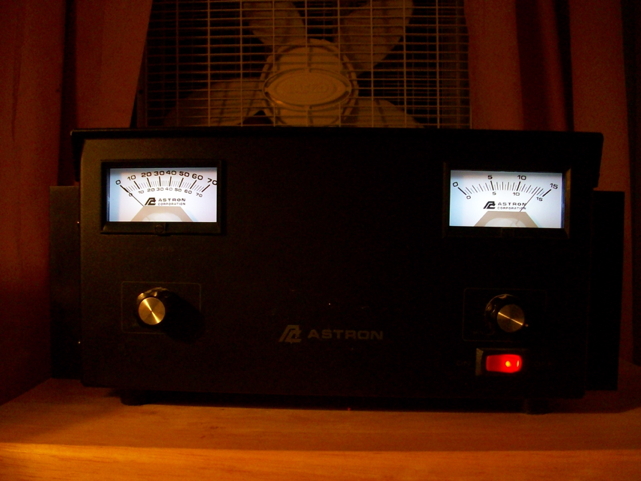
View of Astron VM-70, with Meters lit by LEDs:
Created: 21.02.2015, Modified: 21.02.2015
©2008 - 2099, Alle Rechte vorbehalten, SJWL
©2008 - 2099, Alle Rechte vorbehalten, SJWL